팀 단위의 프로젝트에서는 Github Action 빌드의 결과를 Slack으로 보내겠지만,
개인적인 프로젝트에서는 Telegram을 사용할 때가 많다.
- 메세지 제한이 없고
- 슬랙은 무료 Plan에서는 채널당 메세지가 10,000개 제한이 있다.
- 네이티브 앱이라 슬랙에 비해 속도 체감이 심하다
특정 프로젝트의 build 결과를 텔레그램 메신저로 받을 수 있도록 진행한다.
1. bot 생성
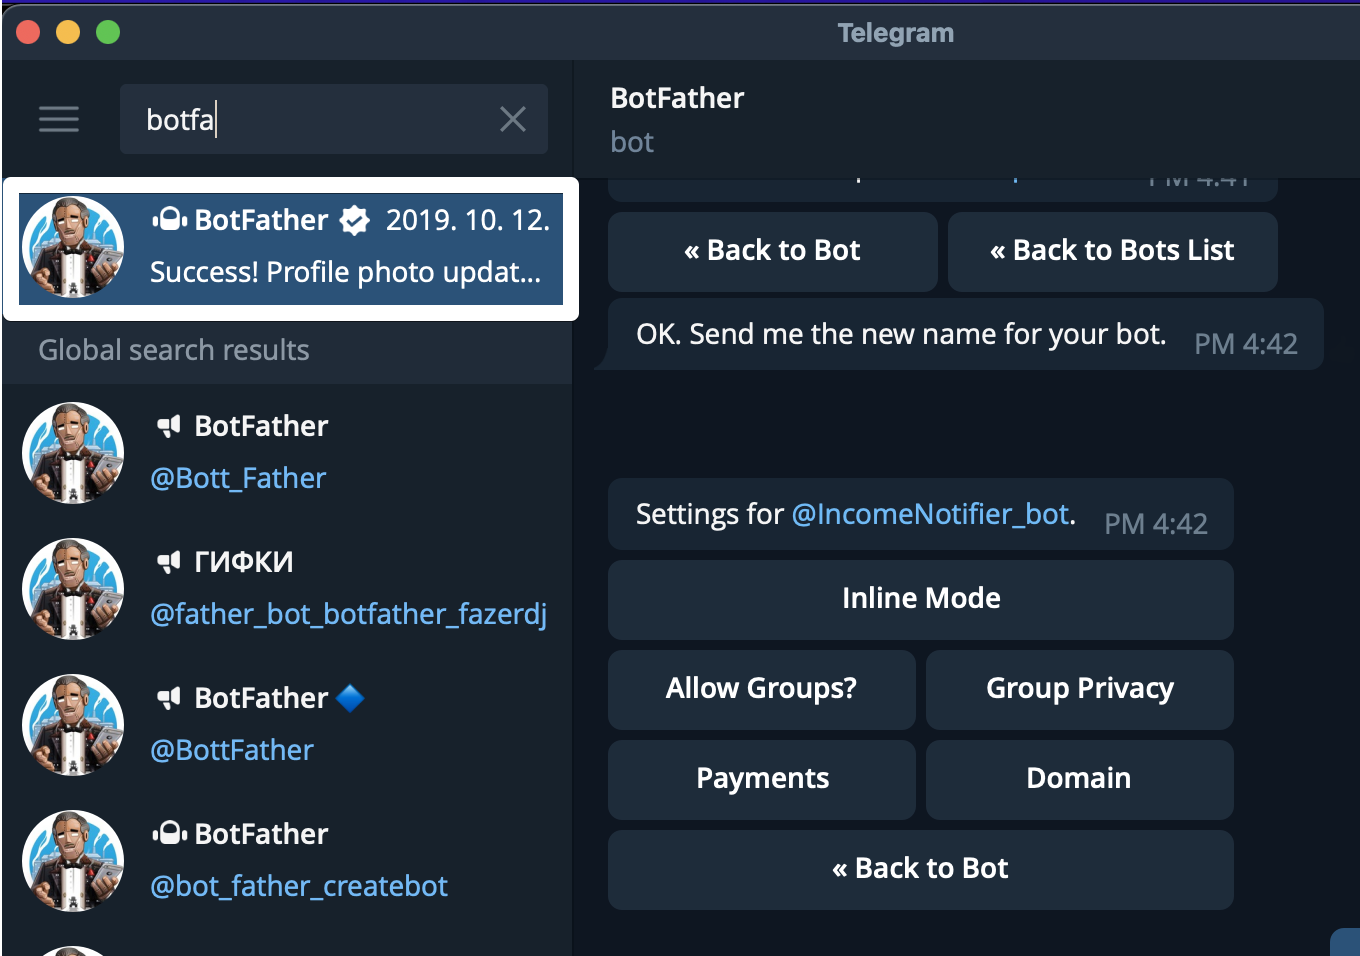
먼저 텔레그램 봇을 생성한다.
텔레그램 메신저로 이동하여 BotFather 를 찾는다.
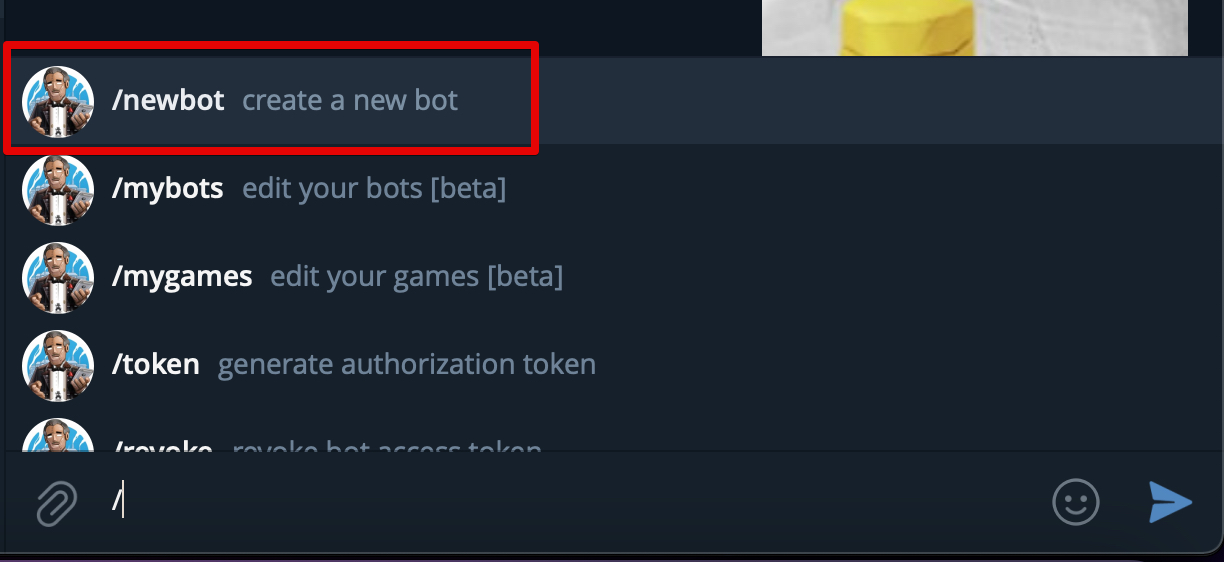
아래와 같이 BotFather 채팅방에서 /newbot을 입력한다
그리고 나선 봇 이름을 등록한다.
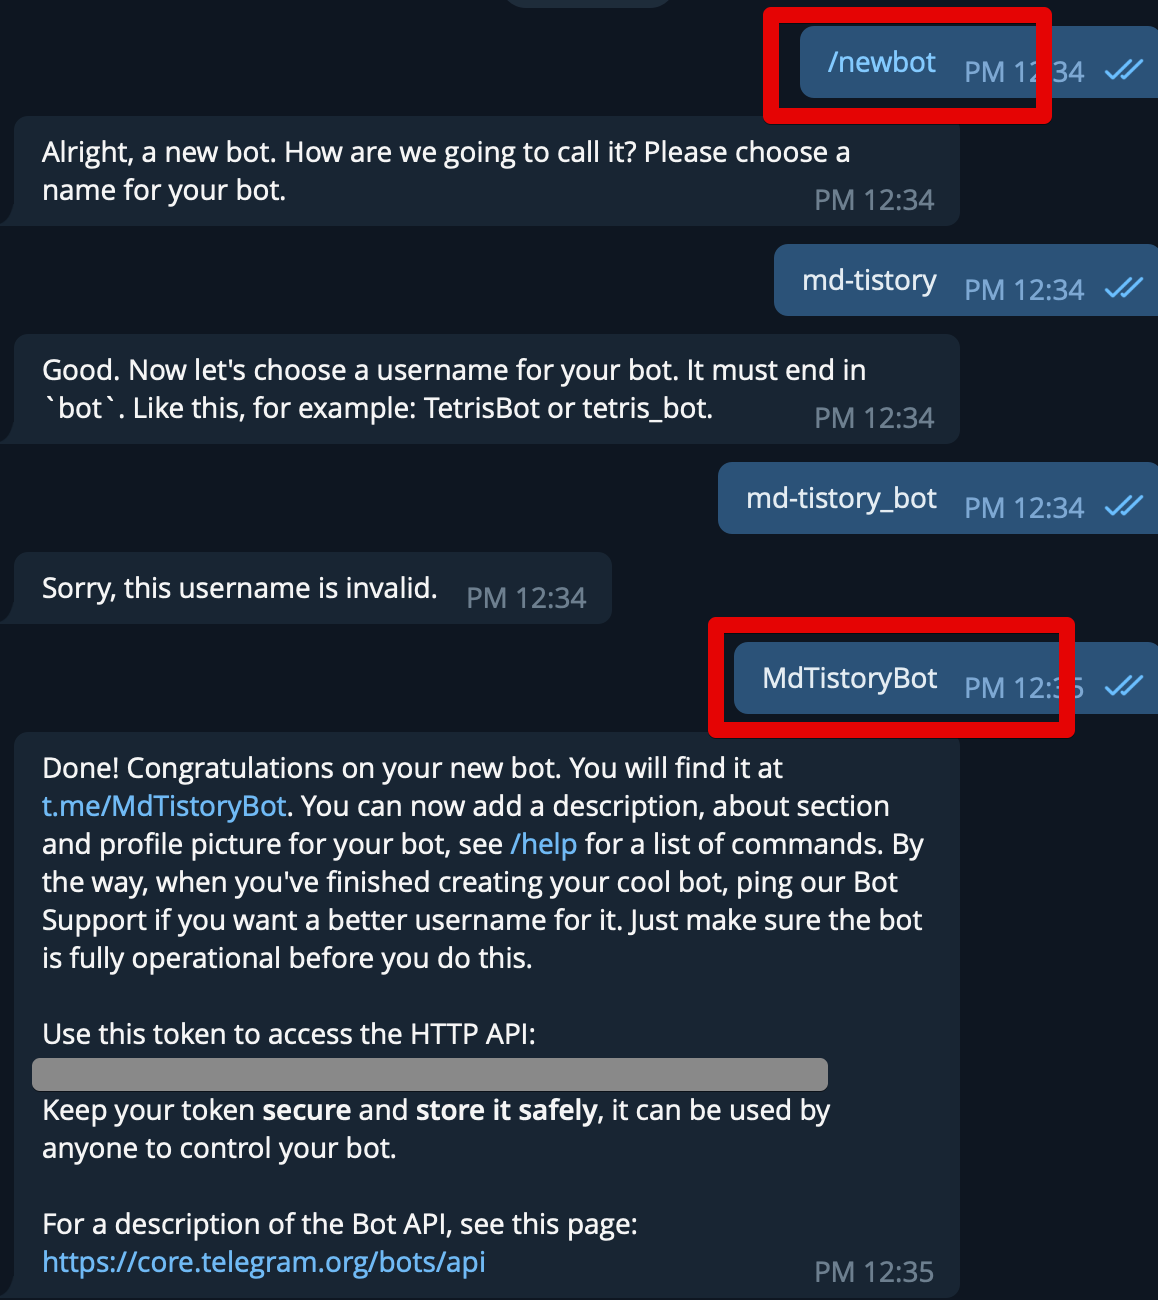
봇 이름은 다음과 같은 규칙이 필요하다
XXXBot혹은XXX_bot과 같이 마지막 뒤에Bot혹은_bot이 들어가야만한다
생성이 완료되었다면, 여기서 끝이 아니고 2개의 값을 가져와야 한다
- 텔레그램 봇 토큰
- 텔래그램 봇 채팅방 ID
정상적으로 생성되었다면 위 이미지의 회색 박스처럼 Token 이 나온다.
이는 잠깐 두고,
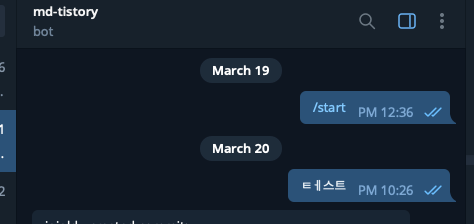
생성된 Bot 채팅방으로 이동해서 간단하게 메세지를 하나 보낸다.
이 메세지를 보내고 나면 이제 텔레그램 API를 통해 채팅방 ID를 가져올 수 있다.
아래 API로 생성된 토큰을 넣어 호출해본다.
(HTTP Get 요청이라 브라우저에서 직접 입력해도 된다.)
https://api.telegram.org/bot봇토큰/getUpdatesbot과봇토큰을 합쳐야 한다
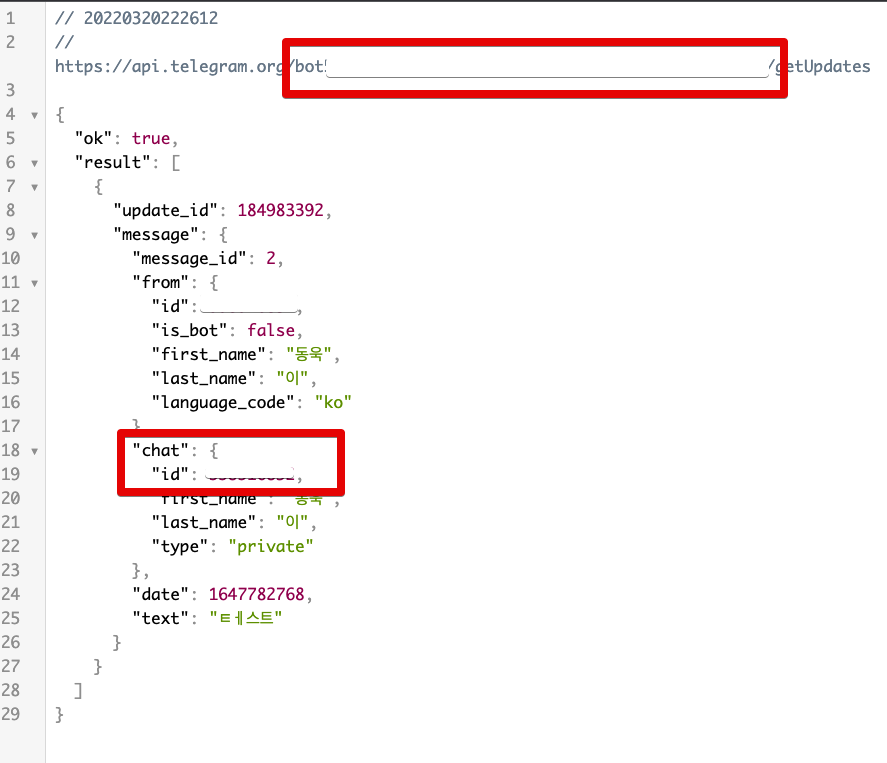
여기서 나온 chat.id 와 토큰값을 이제 Github Action에서 사용한다.
bot profile 이미지 등록
여담으로 만약 생성한 Bot의 프로필을 수정하고 싶다면 다음과 같이 등록할 수 있다.
아래와 같이 BotFather 로 가서 차례로 다음을 입력한다
/setuserpic-> 챗봇 선택 ->BotFather에서 프로필 이미지 업로드
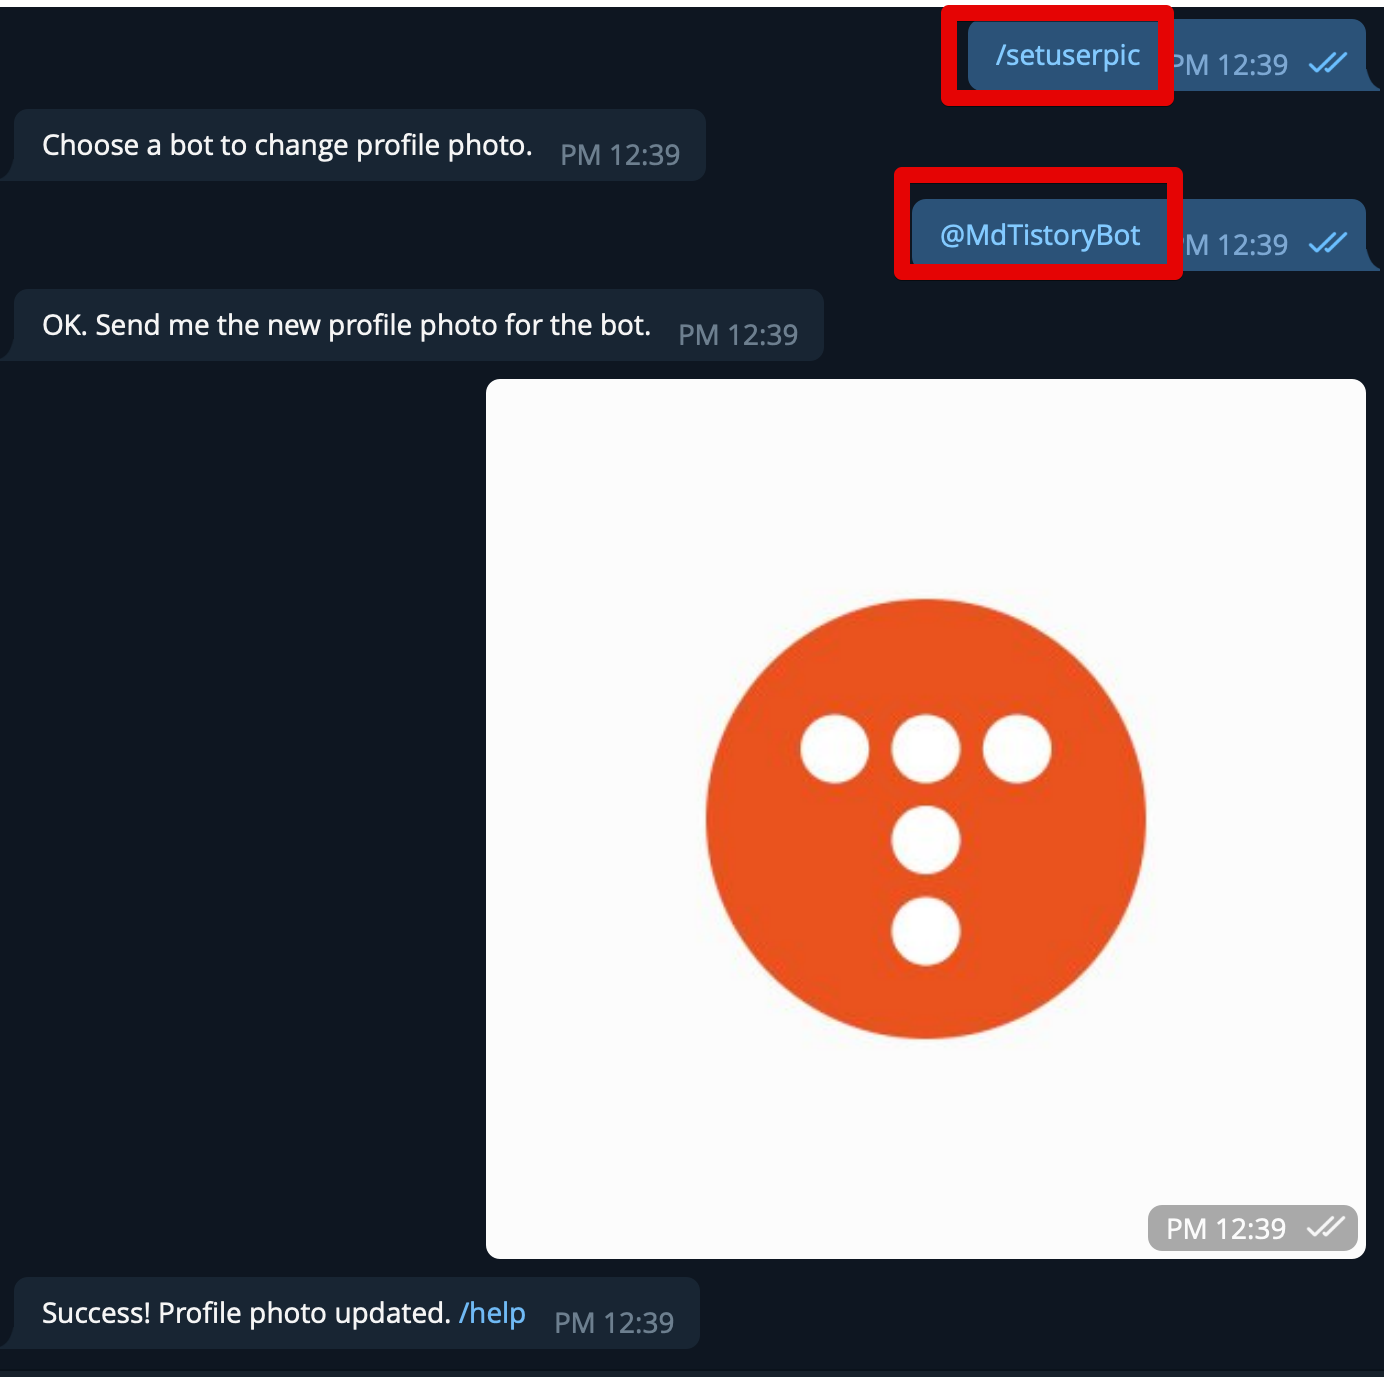
그럼 다음과 같이 챗봇의 이미지가 교체된다.

2. 토큰 등록 설정
1에서 생성된 토큰와 채팅방 ID를 Github Action의 Secrets에 등록한다.
public repository를 사용하는 경우 텔레그램 토큰값이 외부에 공개되는 일을 막기 위함이다.
해당 저장소로 이동한뒤, Settings -> Secrets -> Actions -> New repository secret 버튼을 클릭한다.
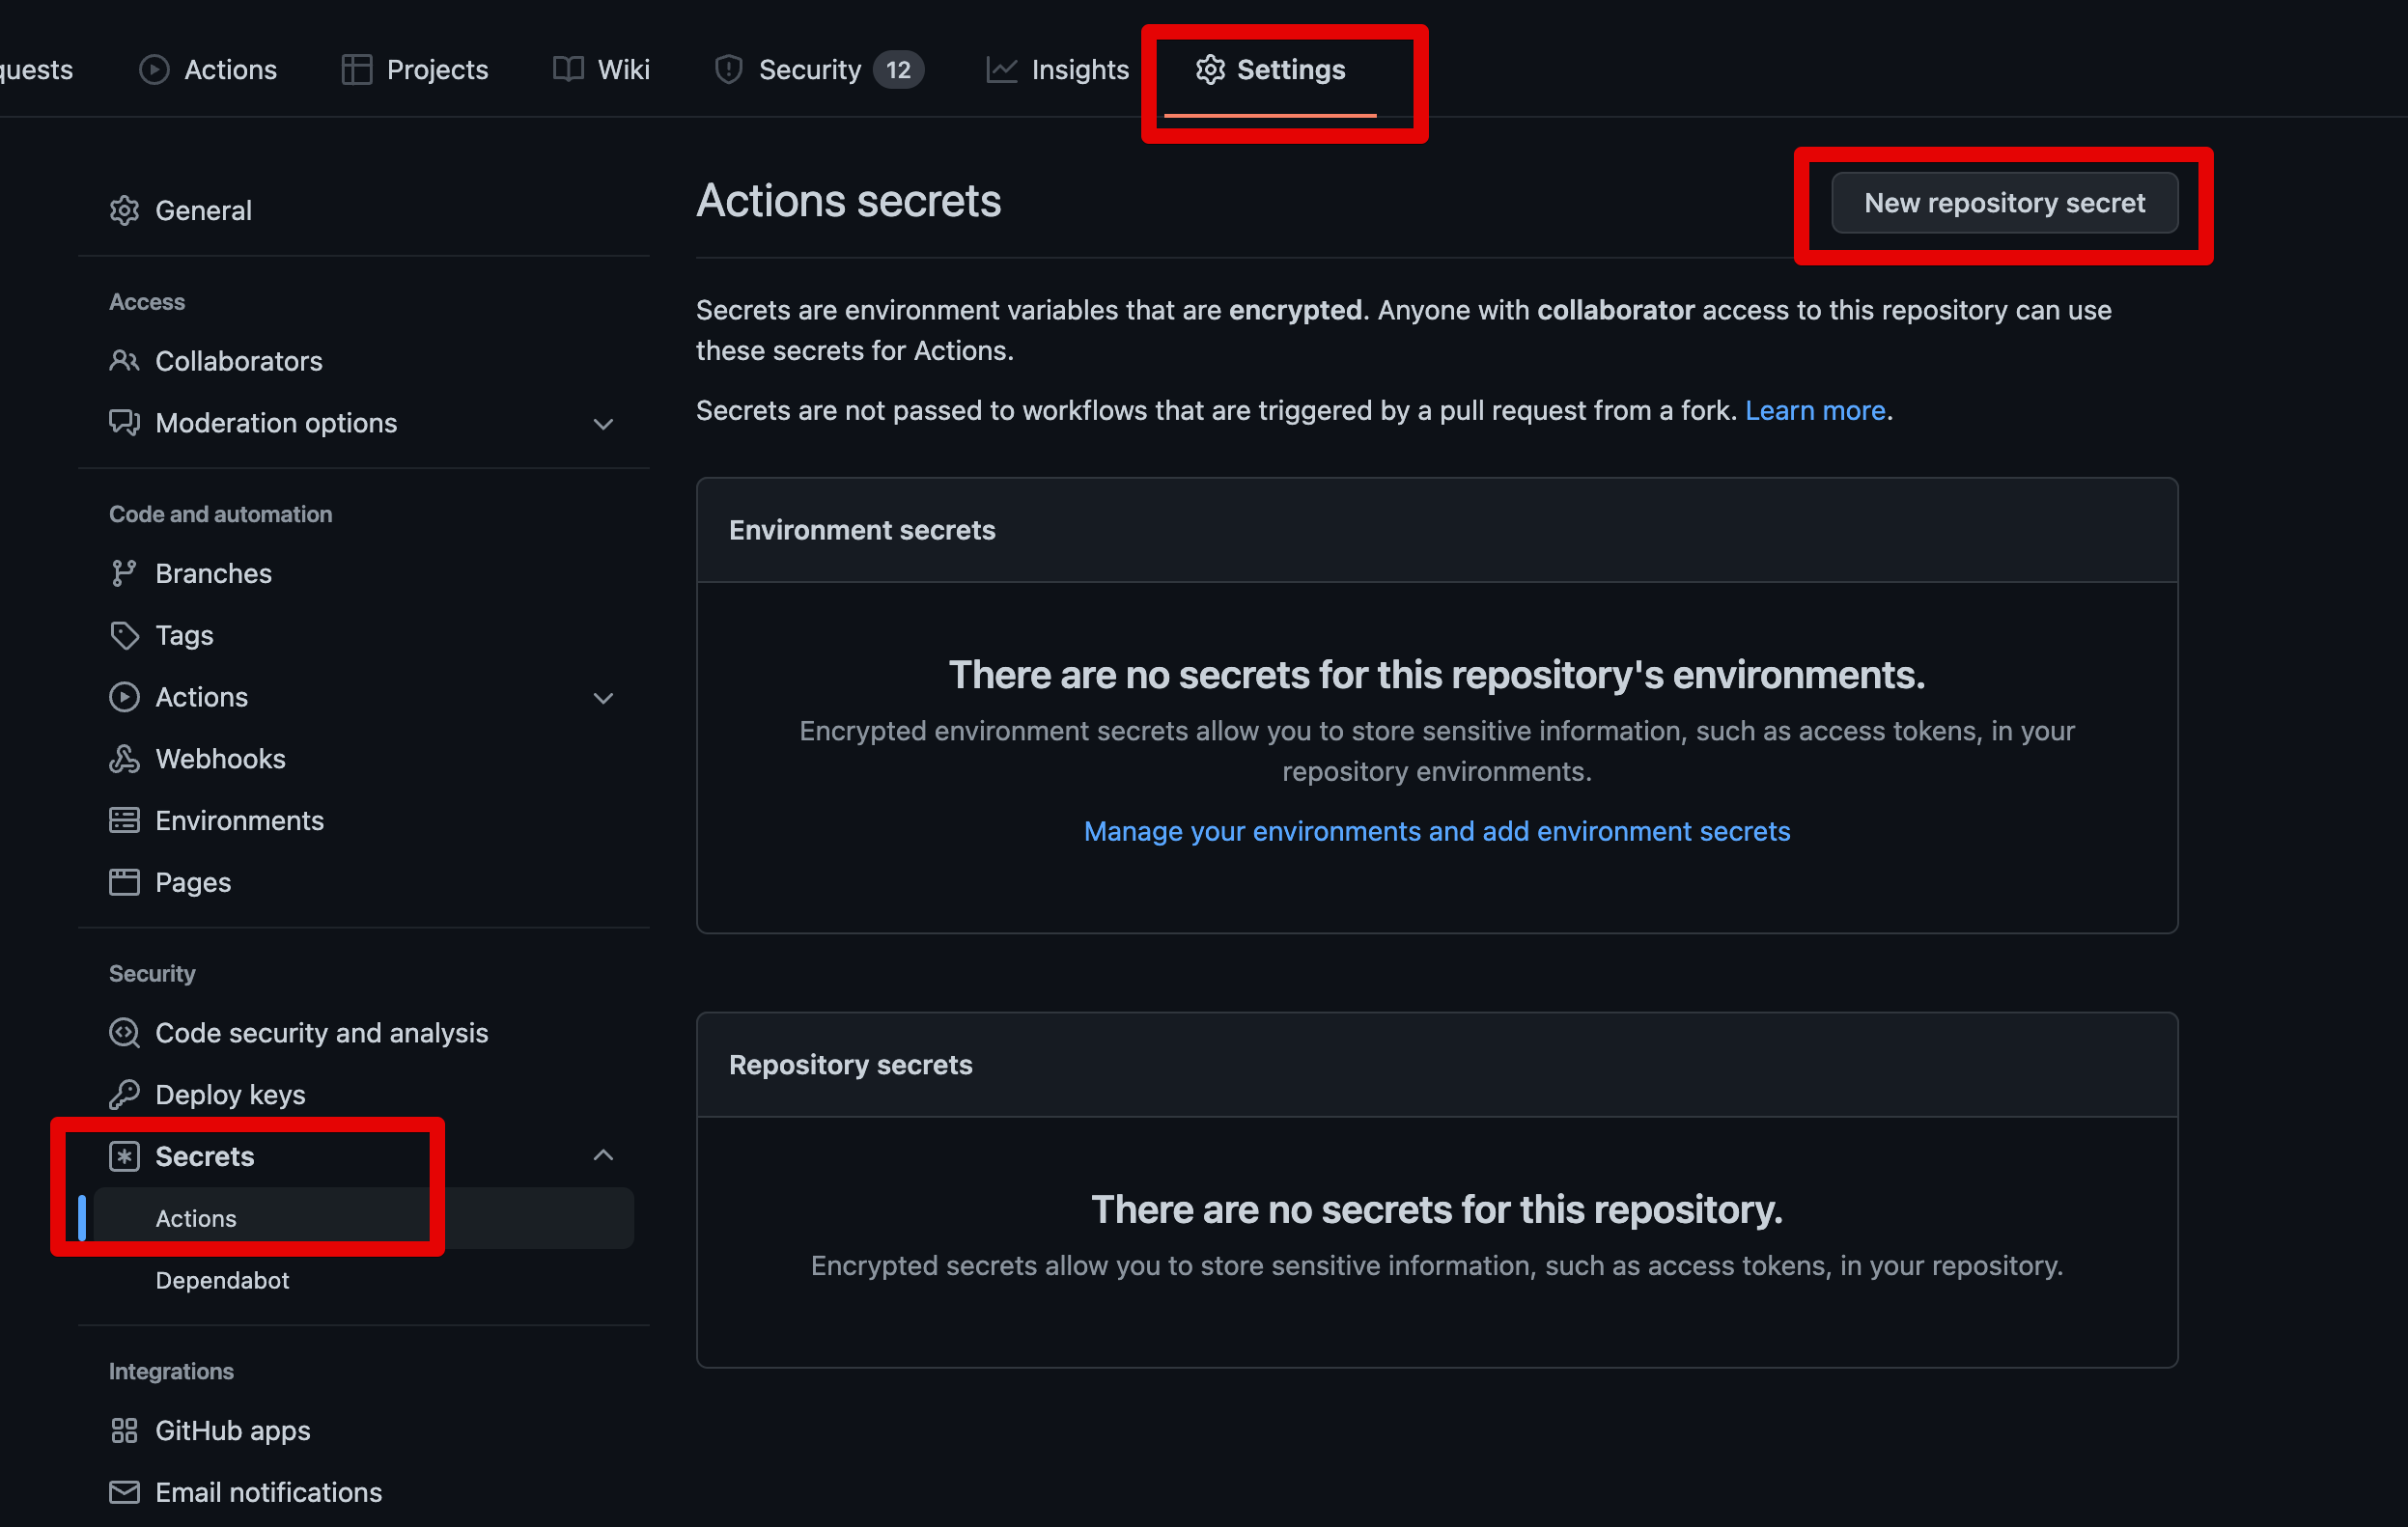
그리고 아래와 같이 생성된 채팅방 ID과 토큰을 차례로 등록한다

TELEGRAM_CHAT_ID: 채팅방 IDTELEGRAM_TOKEN: 토큰
3. github yml 등록
마지막으로 build 결과를 텔레그램으로 보내기 위한 Github Action yml 파일을 설정한다.
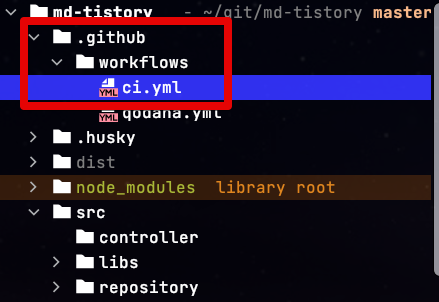
전체 코드는 Github에 있다.
사용할 Github Action 플러그인은 telegram-action 이다.
사용법이 굉장히 심플하고, 텔레그램 관련해서는 가장 많은 star 를 받았기 때문에 선택했다.
기존에 Github Action의 Build 과정 마지막에 다음과 같이 코드를 등록한다
....

      # 빌드 성공 메세지 발송
      - name: Send Build Success Message
        uses: appleboy/telegram-action@master
        if: success()
        with:
          to: ${{ secrets.TELEGRAM_CHAT_ID }}
          token: ${{ secrets.TELEGRAM_TOKEN }}
          format: markdown
          message: |
            Author: ${{github.actor}}

            Status: 😚 **Success**

            Commit message: ${{ github.event.commits[0].message }}

            [See changes](https://github.com/${{ github.repository }}/commit/${{github.sha}})

      # 빌드 실패 메세지 발송
      - name: Send Build Success Message
        uses: appleboy/telegram-action@master
        if: failure()
        with:
          to: ${{ secrets.TELEGRAM_CHAT_ID }}
          token: ${{ secrets.TELEGRAM_TOKEN }}
          format: markdown
          message: |
            Author: ${{github.actor}}

            Status: 😱 **Failure**

            Commit message: ${{ github.event.commits[0].message }}

            [link](https://github.com/${{ github.repository }}/actions)
텔레그램 메세지 발송과 별개로 빌드 & 테스트 & 테스트 레포트 생성 등의 과정을 등록하는 것은 이전 포스팅을 참고한다.
다음과 같이 등록이 마무리되고 Github 로 Push 하면 다음과 같이 메세지를 볼 수 있다.
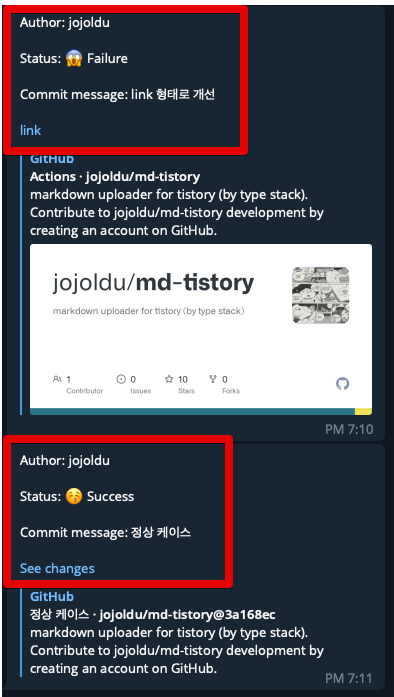
(캡쳐를 위해 일부러 실패와 성공 테스트를 둘다 진행했다)


